Advanced Formbuilding for Mobile Data Collection
This page is to prepare yourself for the fifth session of the DRA CashIM Series. It focuses advanced formbuilding. It offers two flavours: advanced formbuilding in the browser with kobotoolbox and advanced formbuilding with XlsForms.
Advanced Formbuilding in the browser
In the third session we’ve had a first look at kobotoolbox. In this session we will expand on that knowledge. For this session, we will repeat:
- Adding questions
- Question types
- Making questions mandatory
- How to add multiple languages
We will learn:
- Grouping
- Skip logic (conditional questions)
- Cascading select
- Constrain answers (Validation Criteria)
- Calculations
- Layout
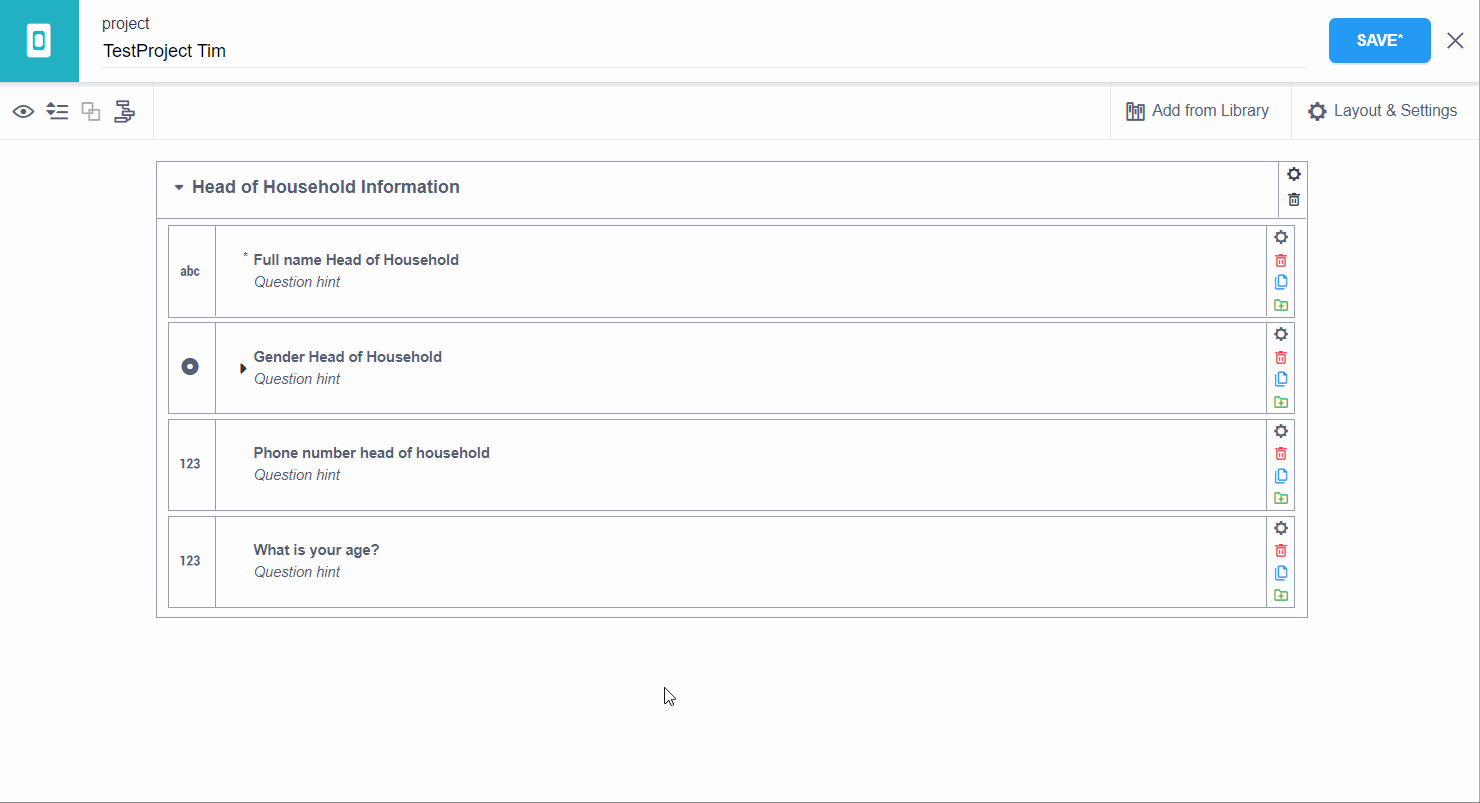
Grouping questions in the browser
Draft a set of questions that you would wish to group together. Then press the CTRL Key and select/click on all the questions (with the help of your mouse) that you wish to group. You should see the questions getting highlighted to blue as shown in the image below. Then press Create group with selected questions (marked under the red box) as shown in the image:
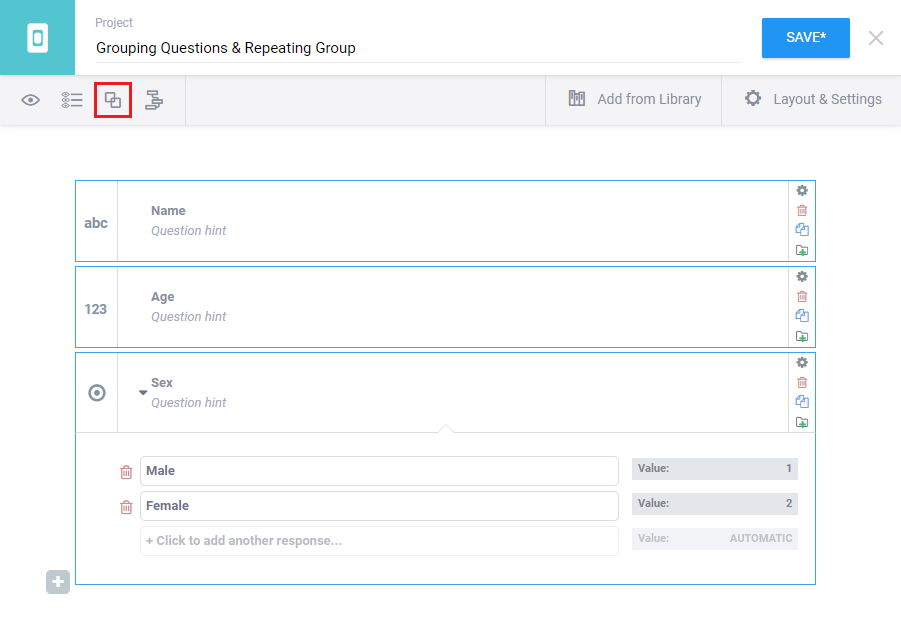
You should now be able to see your new group. It should be slightly different (enclosed within a shaded box) then the normal question you generally see. Then you can rename your group to give it a representative name. The process is also visualized in the video below:
more information on grouping here
Skip logic
Skip logic is also sometimes referred to as ‘branching’ or ‘relevant conditions’. By default, all questions are always visible. Skip logic controls which question should be displayed only if a certain condition (or conditions) is fulfilled. Conditions are always applied to the question or group that should be sometimes hidden, sometimes visible.
**Example**
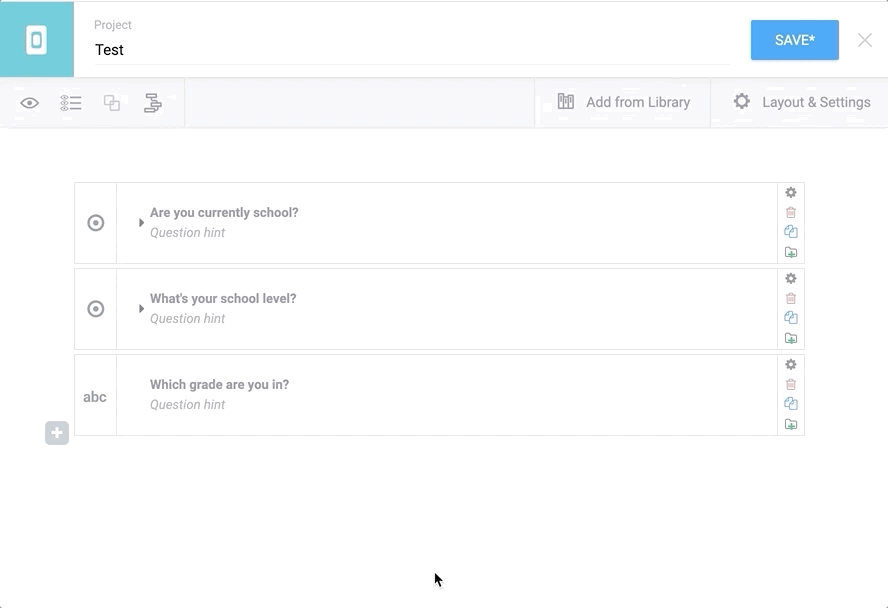
Q1: Are you currently in school?
Q2: What’s your school level?
Q3: Which grade are you in?
You would want to display the third question only if the respondent answers ‘Yes’ to the first question.
These conditions can be added to each question by clicking on Settings inside the question card (top right of each question), then select “Skip Logic” on the left. Then click on “+ Add a condition” and fill this in. This process is illustrated below. To add multiple conditions, add your first one, then click on the “+ Add a condition” button. When using two or more conditions, be sure to choose between the two options: whether the question should match any (at least one) of these criteria, or all of them.
more information on skip logic here
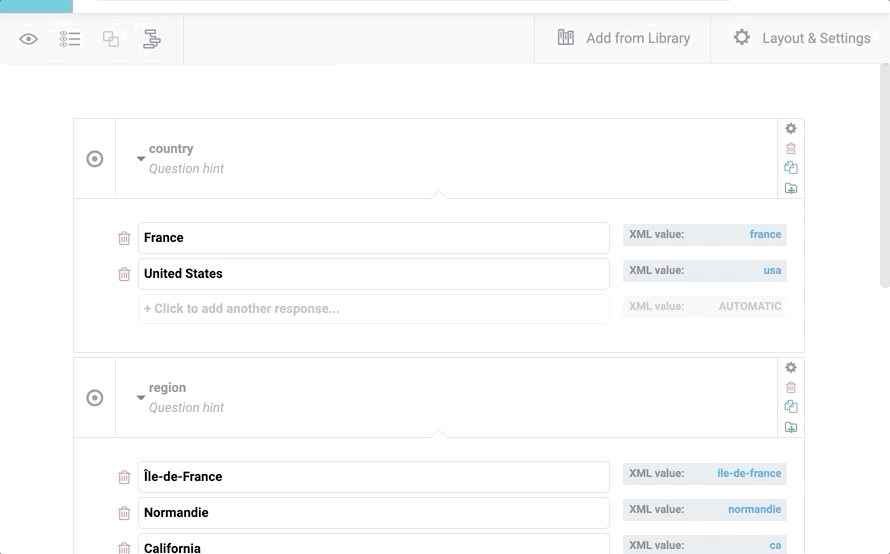
Cascading Select
Cascading select questions are sets of questions whose options depend on the response to a previous question. For example, your form may first ask the region where a respondent is from, and then in the next question list only the districts in that region and then follow up with only the villages of that district.
Create your cascading select in Excel
Download this template and open in Excel. If you want, you can change the values to match your situation.
Import cascading select into kobotoolbox
Then import the cascading select question into kobotoolbox by clicking the cascading select icon on the top left and copy and paste the data from excel in the popup window that appears. This is also illustrated in the video below:
more information on cascading select here
Constrain answers (Validation criteria)
This feature allows you to avoid accidental or invalid answers, especially in numeric questions (integer or decimal response types). However, validation can be used on any question. Validation criteria are also sometimes referred to as constraints.
You can add validation criteria by going to a questions settings and then click on “Validation Criteria”. In the example below it is shown how we restrict the age to numbers between 0 and 130.
Calculations
Some advanced forms may require an internal calculation to take place as part of the form (rather than afterwards during the analysis). This can be done by adding a Calculation and writing the mathematical expression into the question label field.
In the example below, we will ask how many girls and how many boys live in the household, then we add a calculation to add those two. We use that to confirm the response of the beneficiary.
- We start by adding the first two questions, and giving them a better name (via question settings and then changing the “Data Column Name”) So that we can better reference them later.
- First question (number type): “How many girls under 18 live in your household?” and change the name to: girls
- Second question (number type): “How many boys under 18 live in your household?” and change the name to: boys
- Then we add the calculation by typing ${girls}+${boys} in a new question and then select calculation as the question type and change the name to: total_children
- Then you can use the outcome of this calculation in a note question type. You do this by typing “You said you have ${total_children} children, is that correct?” and select note as the question type.
The video below illustrates this example
Layout
Kobo webforms can be customized in the way your questions are presented. There are two alternative styles that can be selected and even combined: Multiple Pages and Grid Theme.
Multiple Pages mode displays one question at a time per screen, or a group of questions set to display on the same screen. This is the same way KoBoCollect works.
Grid Theme is an alternative display of questions meant to be more compact and more like paper forms where space is often a major concern. theme-grid allows displaying multiple questions per row and flexibly adapts in case of skip logic making a new question appear or disappear. To display multiple questions in a row they need to be part of a group, which by default shows up to four questions next to each other. This theme can be customized by defining the number of questions to be included in each row through the appearance field of each question’s settings. For more details see this post.
It is also possible to use both Multiple Pages and Grid Theme together. You can set these styles through the KoBoToolbox form-builder user interface:
Advanced Formbuilding with XLSForm
In this section we will learn how to create a form using xlsform. All the information abou XLSForm can be found here
Basic form creation
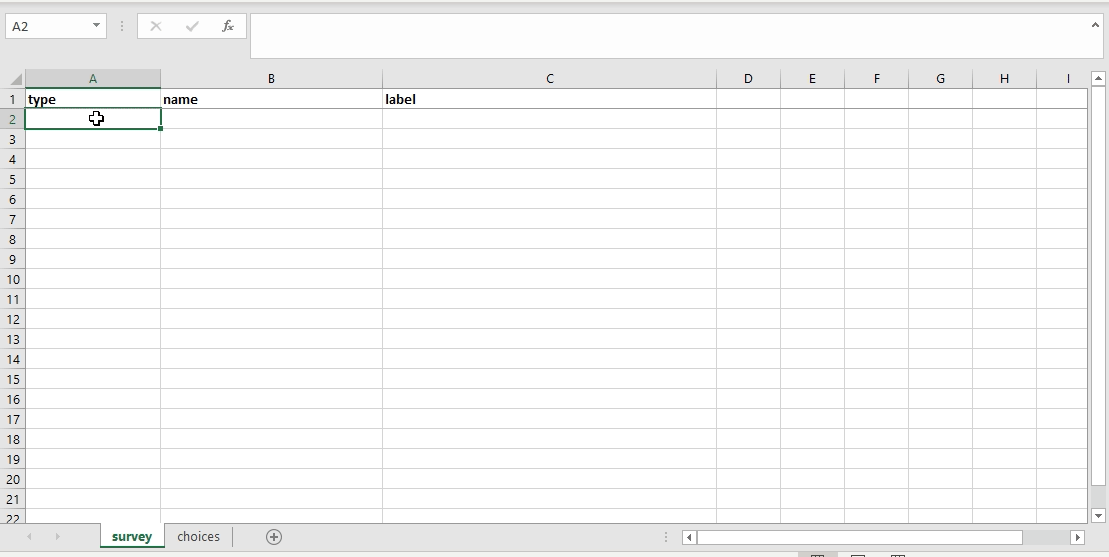
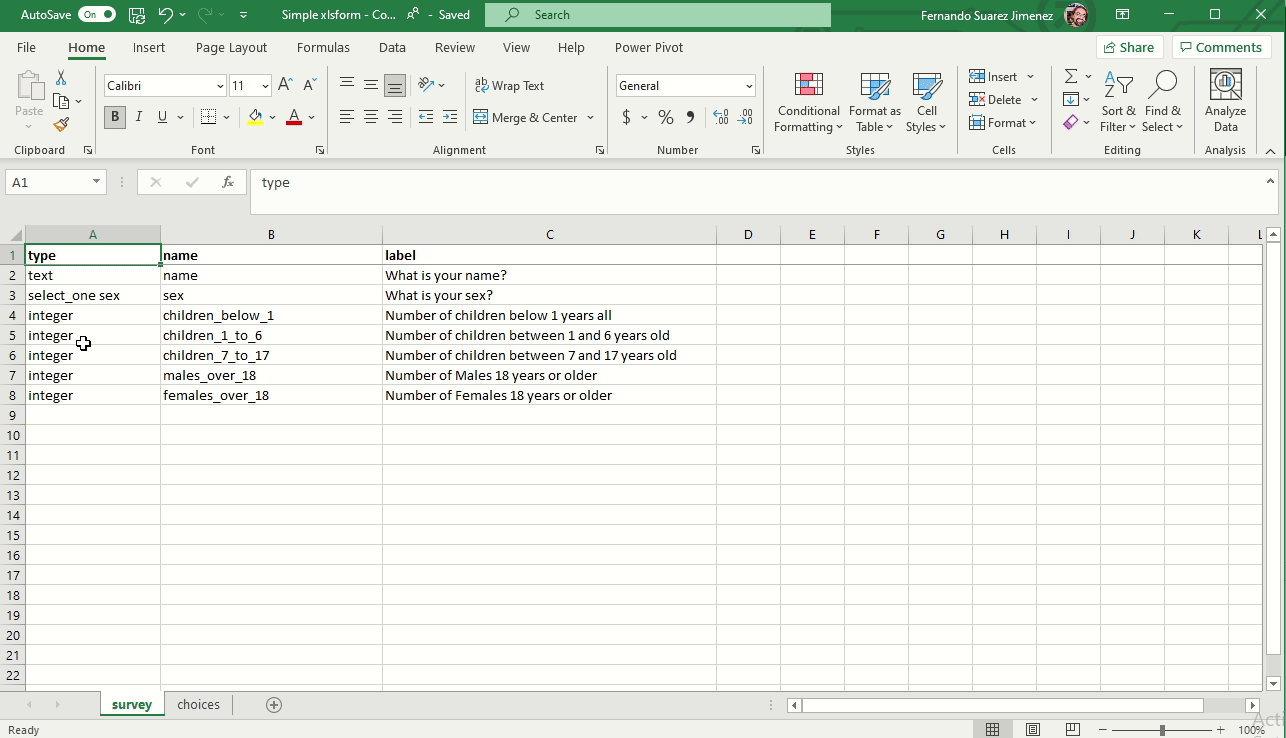
XLSForm file has three sheets
- survey: questionnaire overall structure. Full list of questions and their appearance.
- choices: answer choices for the multiple choice questions in the survey sheet
- settings: some metadata about the form (not required)
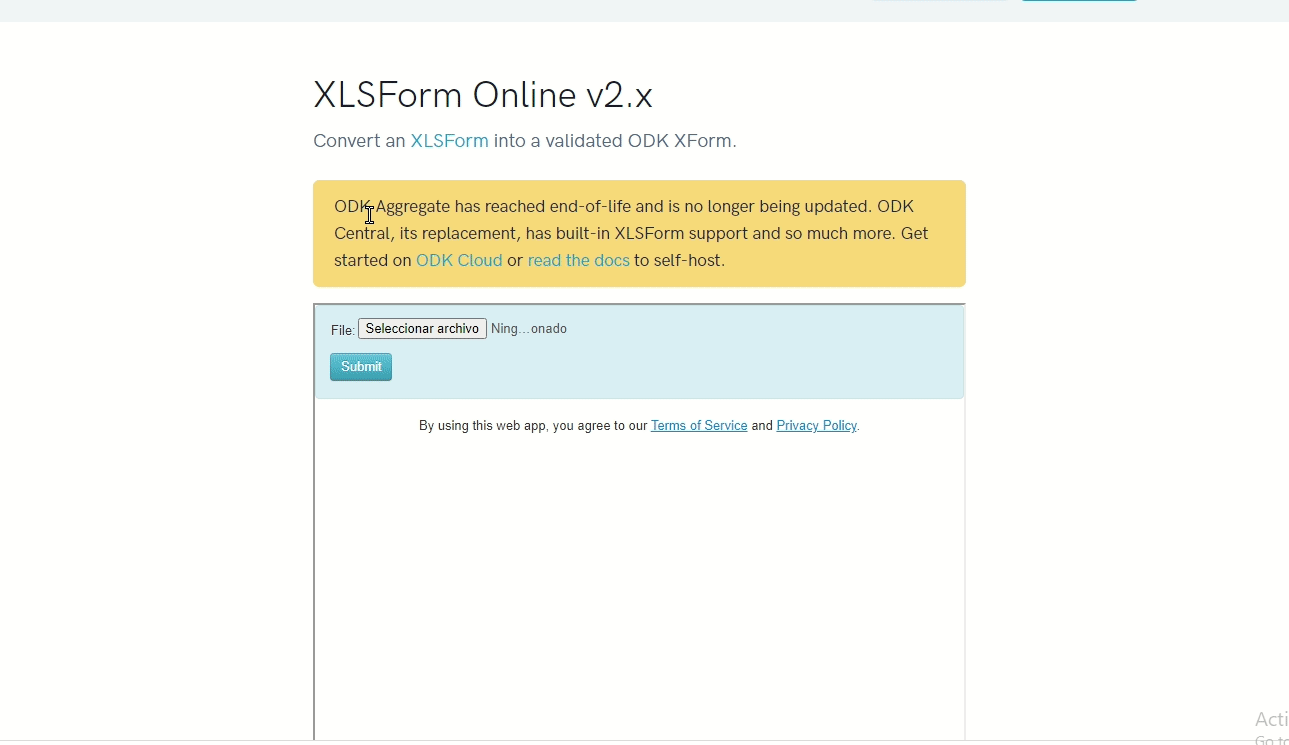
XLSForm validation
It is possible to validate your XLSForm in this link. Following the steps as per the image below.
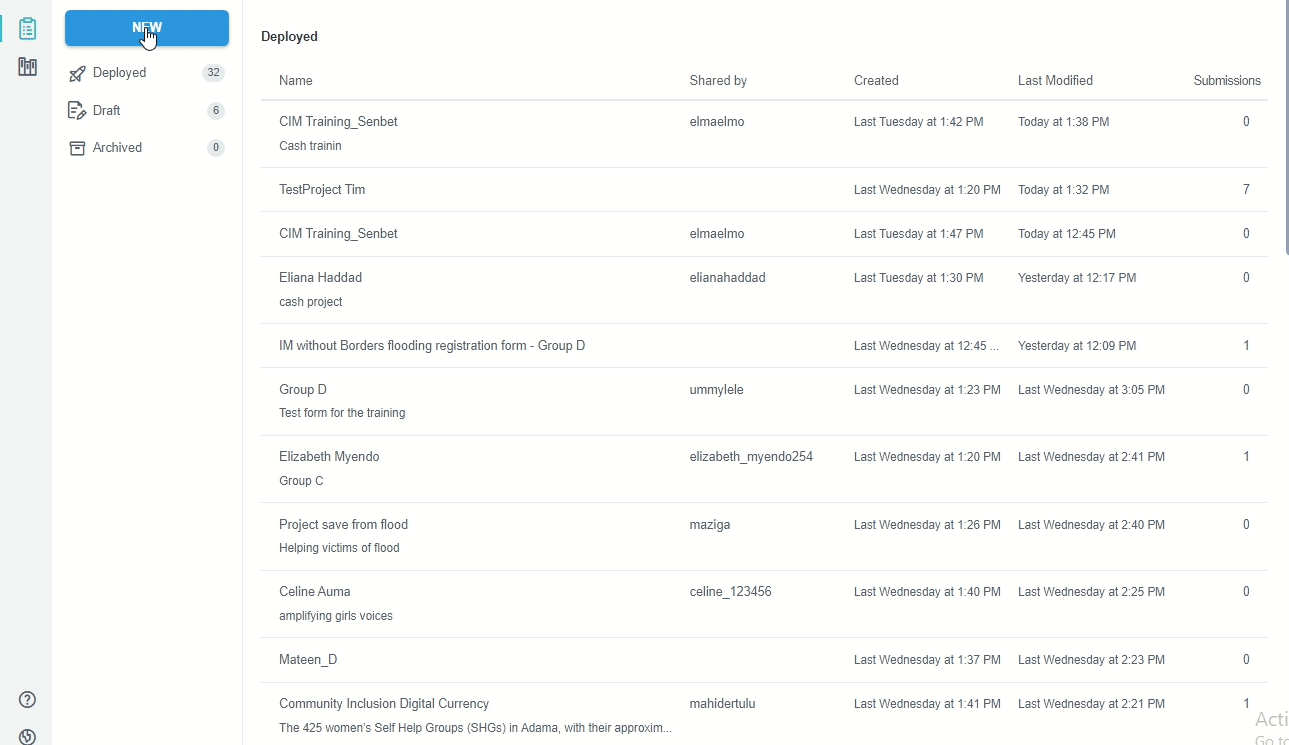
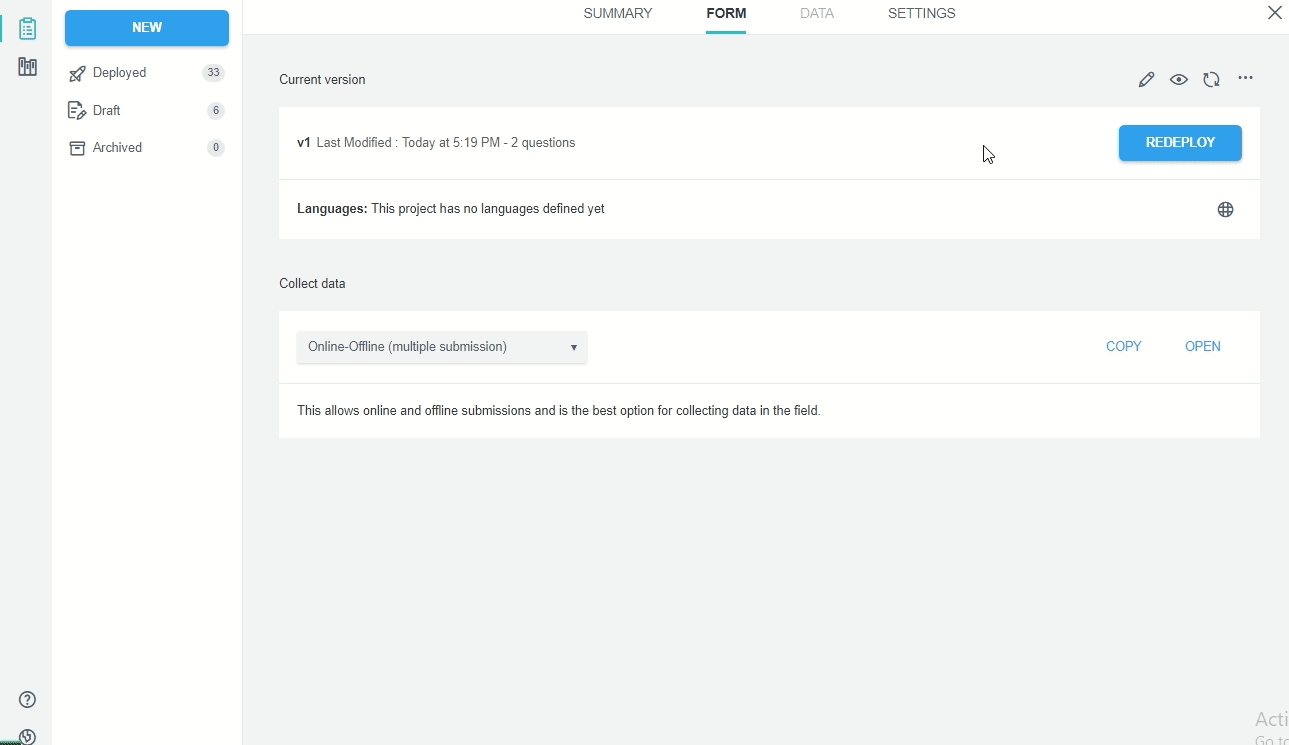
Creating a Kobo project with XLSForm
We can create a Kobo project uploading a XLSForm:
Download the XLSForm from a Kobo project
We can also download the XLSForm from any Kobo project, regardless if it was created with XLSForm or with the FormBuilder:
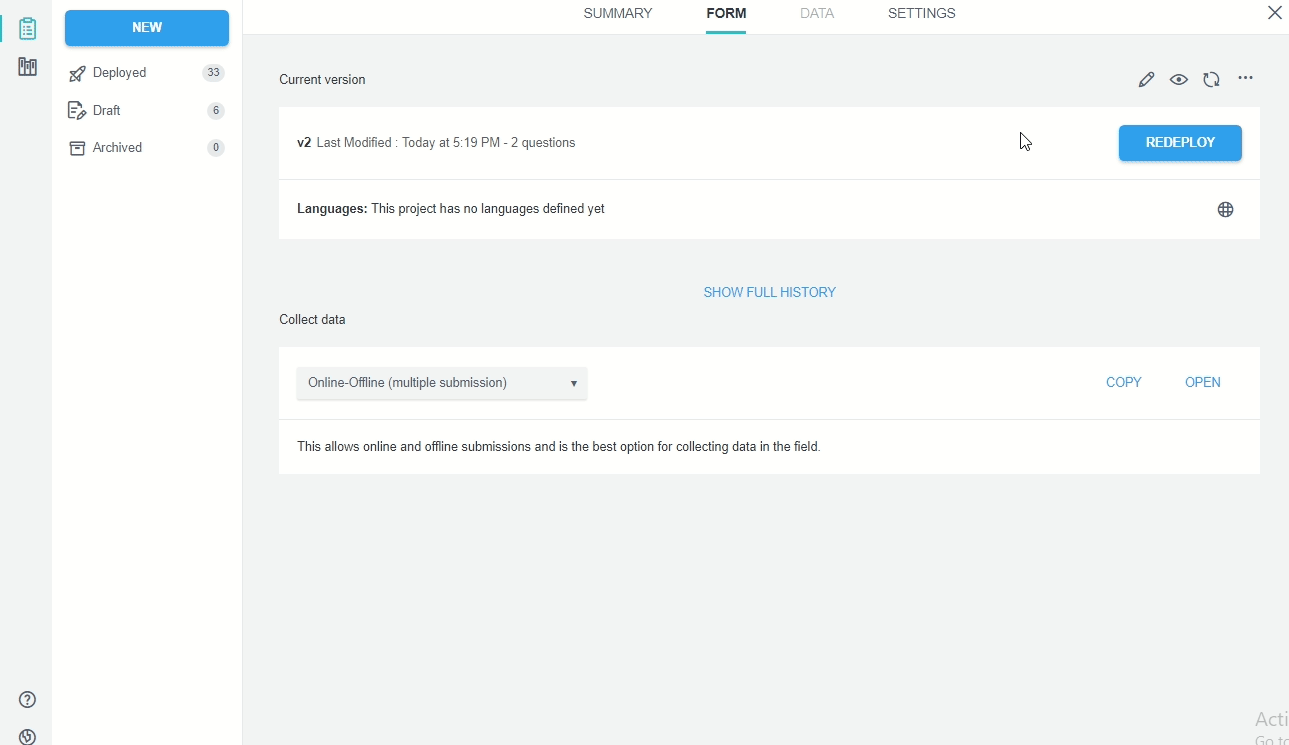
Update a Kobo project with XLSForm
Any Kobo project can also be updated using XLSForm:
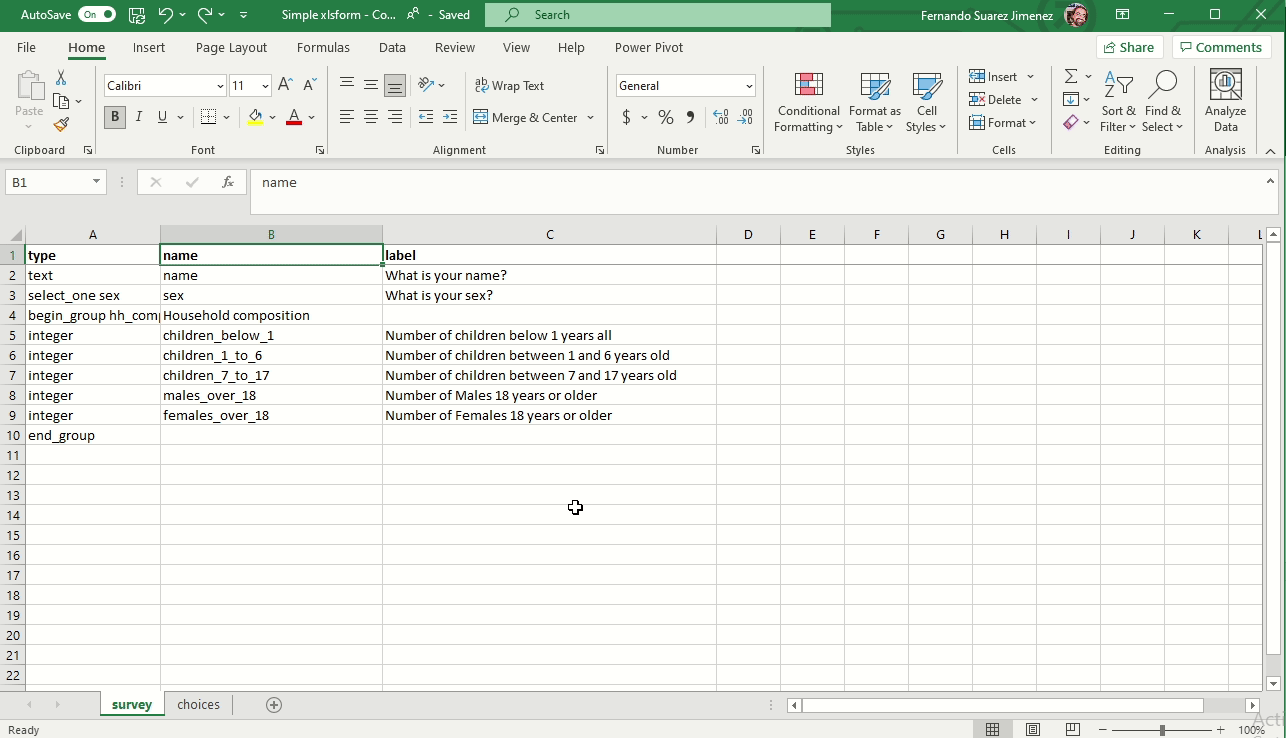
Creating groups
To add a group to your form you need to add two rows.
- Begin group. Also enter a name and label
- End group. Doesn’t require name and label because hidden in the form
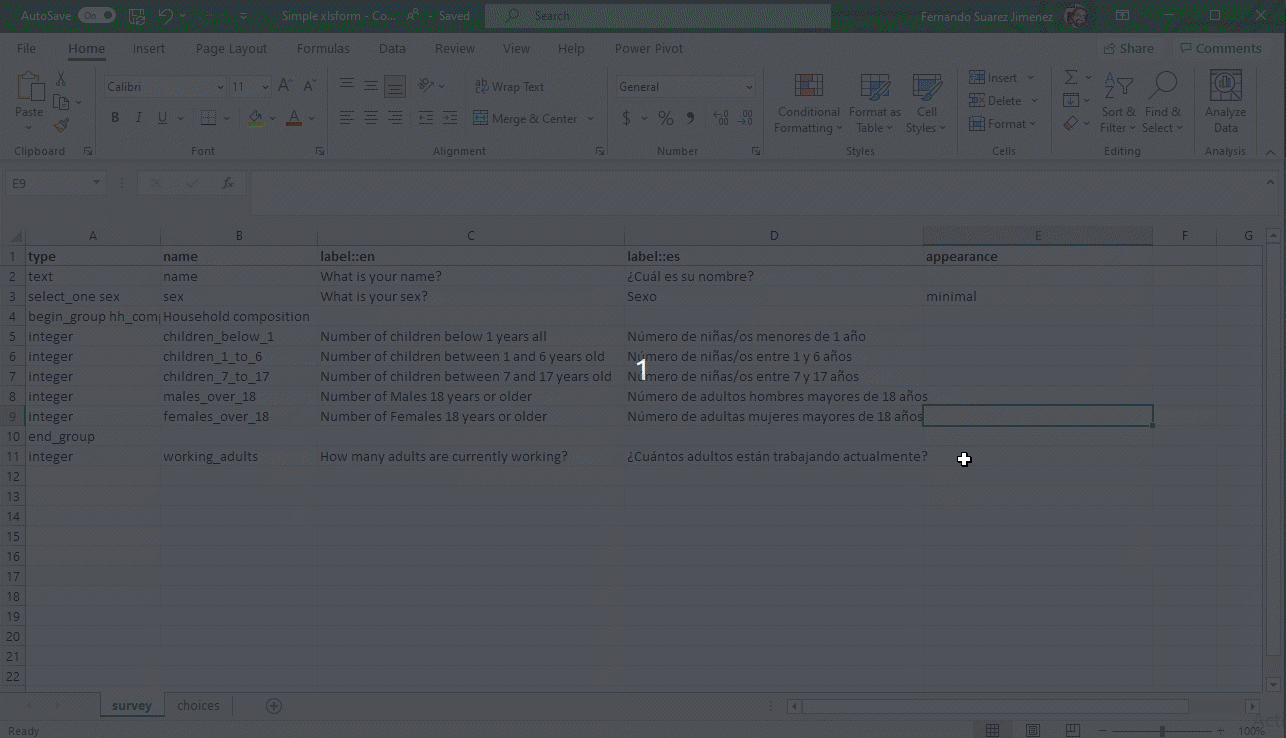
Adding a language
You can add multiple languages by naming your label and hint columns as follows:
- label::language1 (code), label::language2 (code), etc.
Changing the appearance
You can add a column appearance to change the way the questions are displayed in the form.

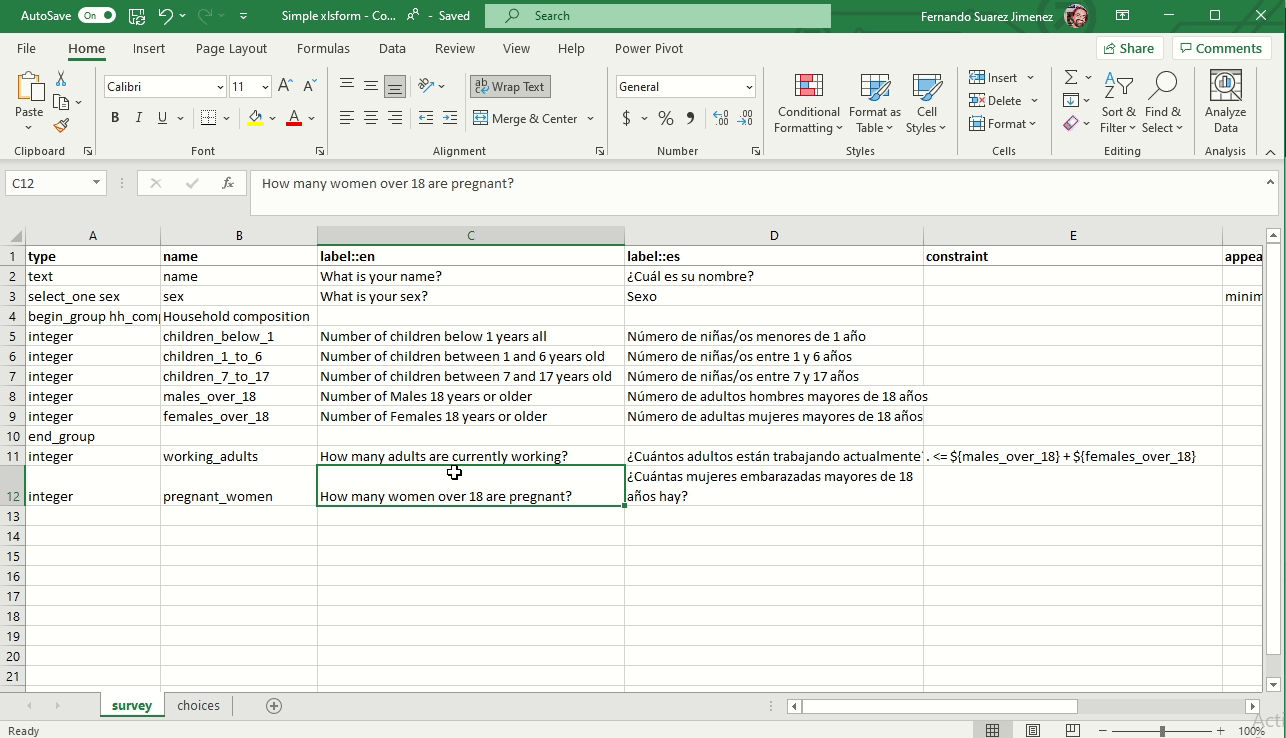
Constraint answers (Validation criteria)
To ensure data quality, it is a good practice to add constraints to the data fields in your form. This prevent you from receiving impossible answers.
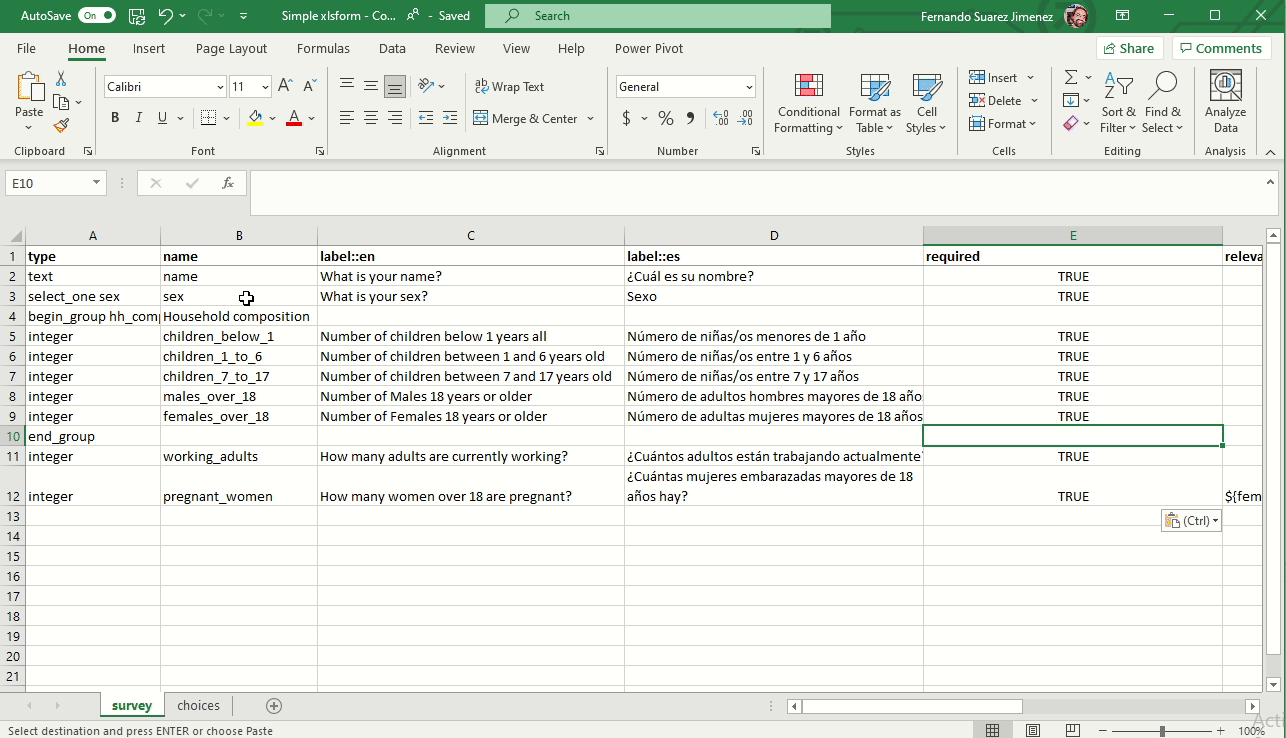
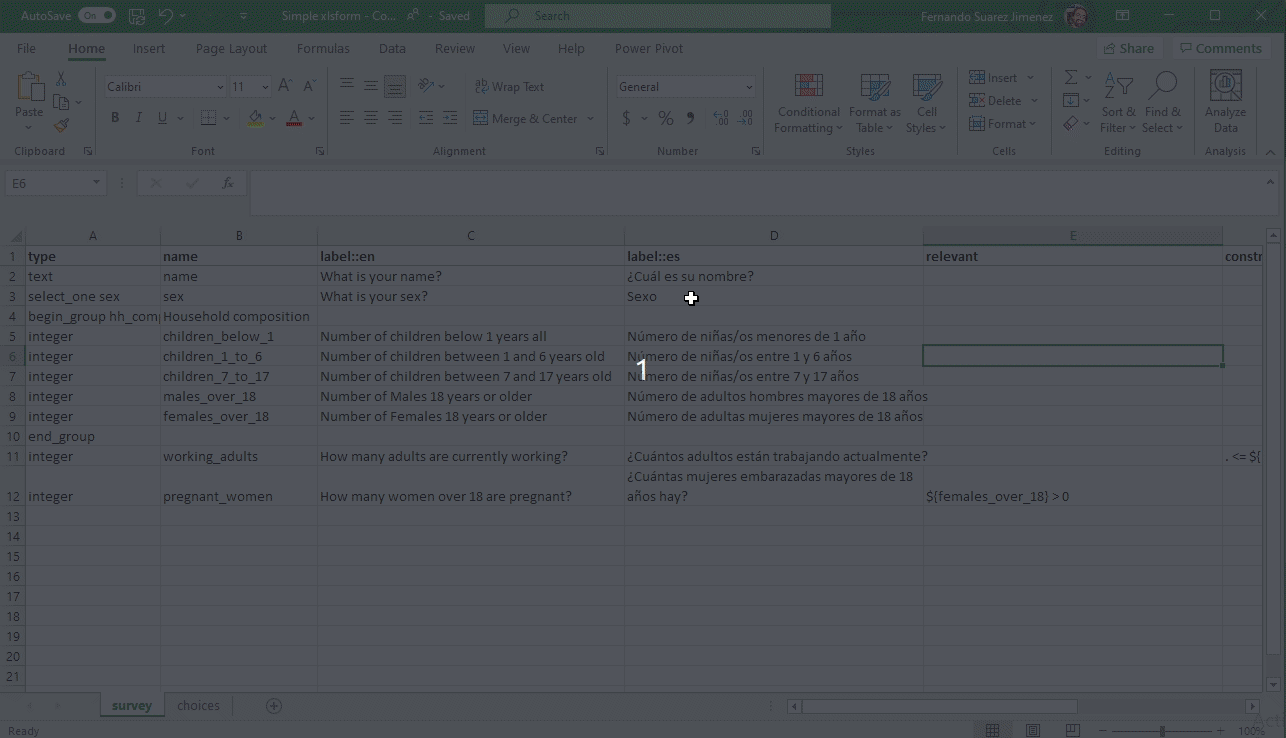
Skip logic for conditional questions (Relevant)
The relevant column is used to skip a question or make an additional question appear based on the response to a previous question. The referenced question (variable) is written between ${ and } as per the image below:
Mandatory questions (Required)
To make a field mandatory add the column required and enter yes or no (true or false will also work). Marking a questions as required means the user will not be able to move on to the next question or submit the form without entering an answer for that question.
Calculations
Your questionnaire can perform calculations using the values of preceding. As per any formula, the referenced question (variable) is written between ${ and }